
Installation Steps
How to install Stonewrap® manufactured stone
To ensure optimal results when installing Stonewrap® manufactured stone veneer, it is essential to carefully follow the instructions provided. Keep in mind that a proper installation will ensure that your Stonewrap® stone veneer lasts for many years to come. The installation process for Stonewrap® manufactured stone is relatively straightforward, and by adhering to these guidelines, you can be confident that the final result will be a beautiful and durable surface that you can take pride in for years to come.
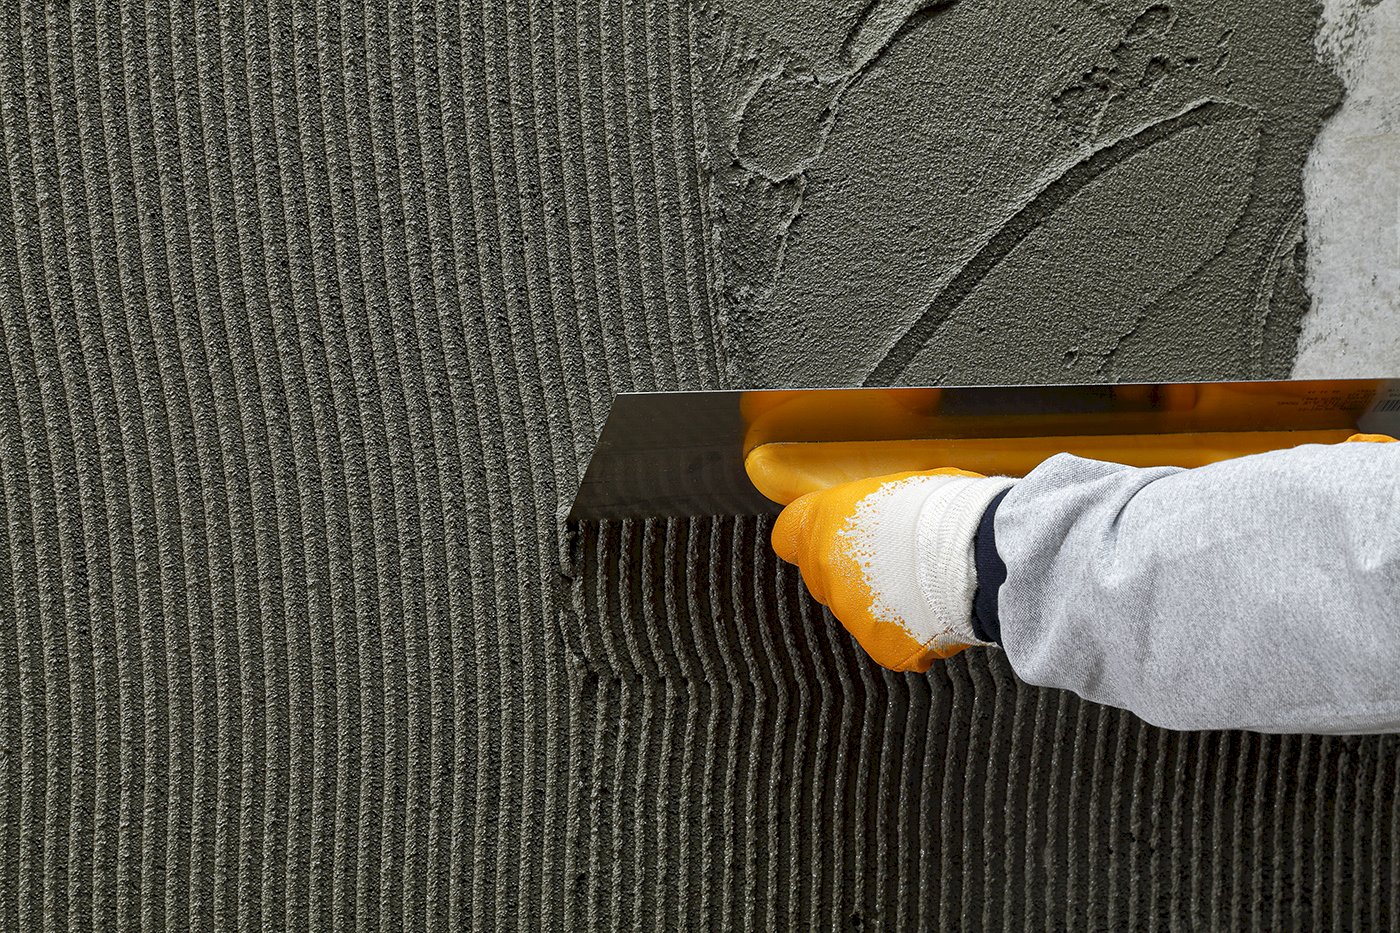
Spread Stonewrap® glue with an adhesive trowel over suitable surface.
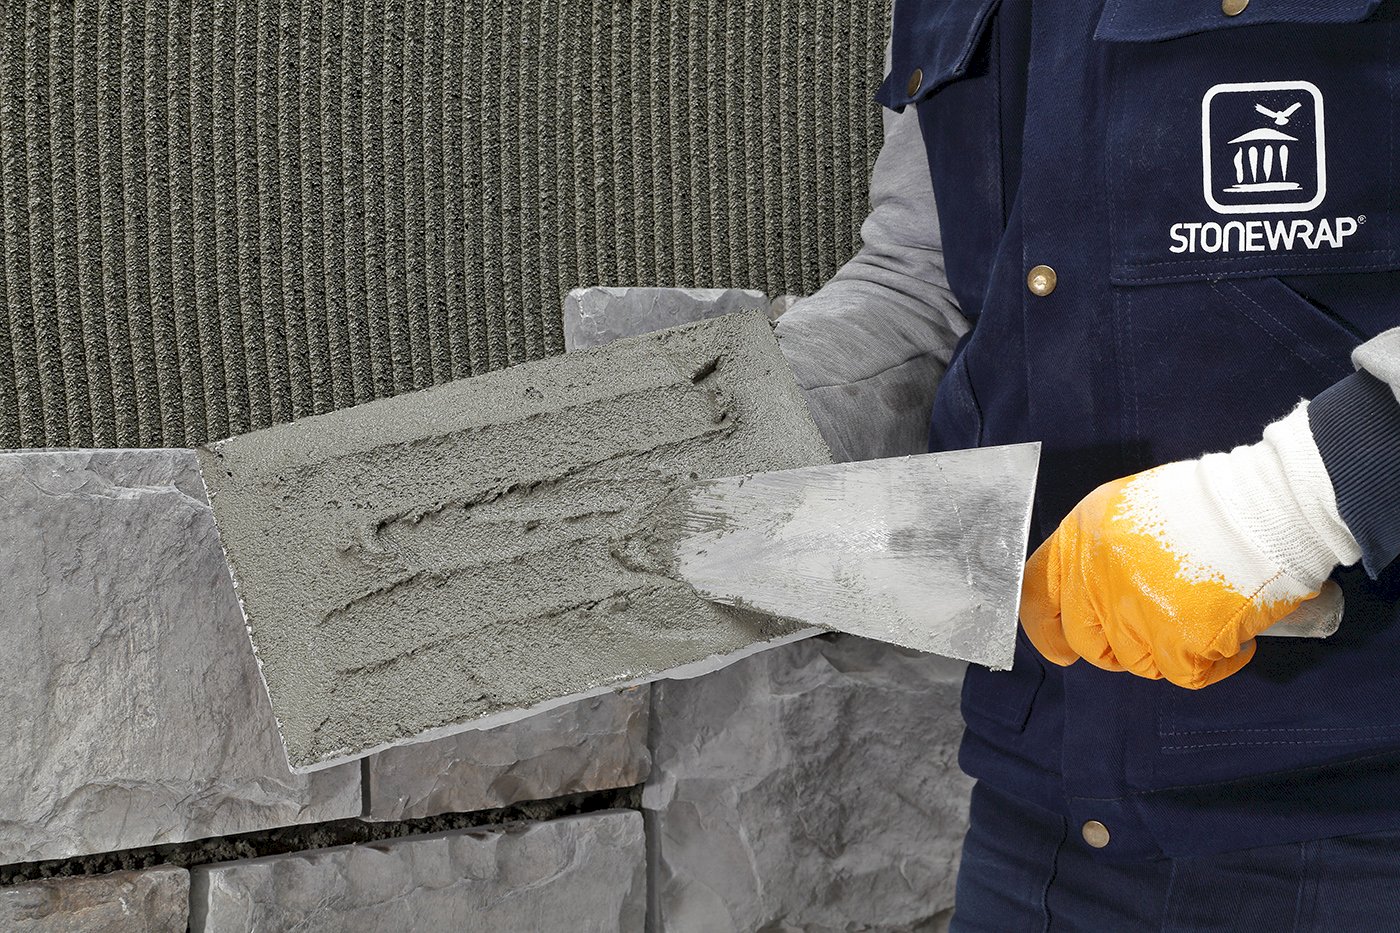
Apply glue also on the back side of stones, particularly in outdoor installations.

Select the appropriate color from Stonewrap® Joint mortar range and fill the joints with this joint mortar by using a grout bag.
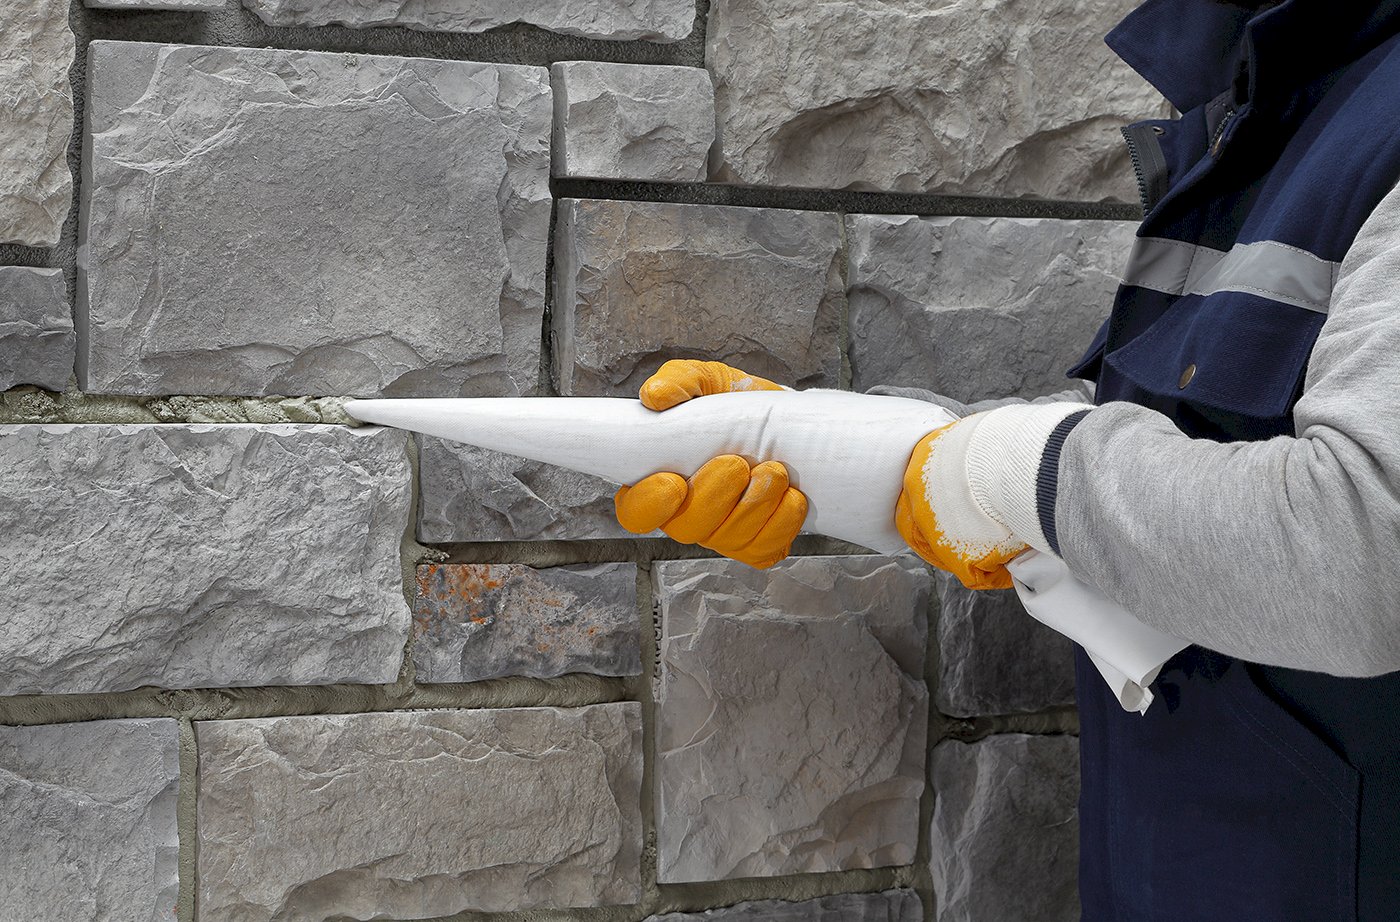
Apply the joint grout according your desired effect.
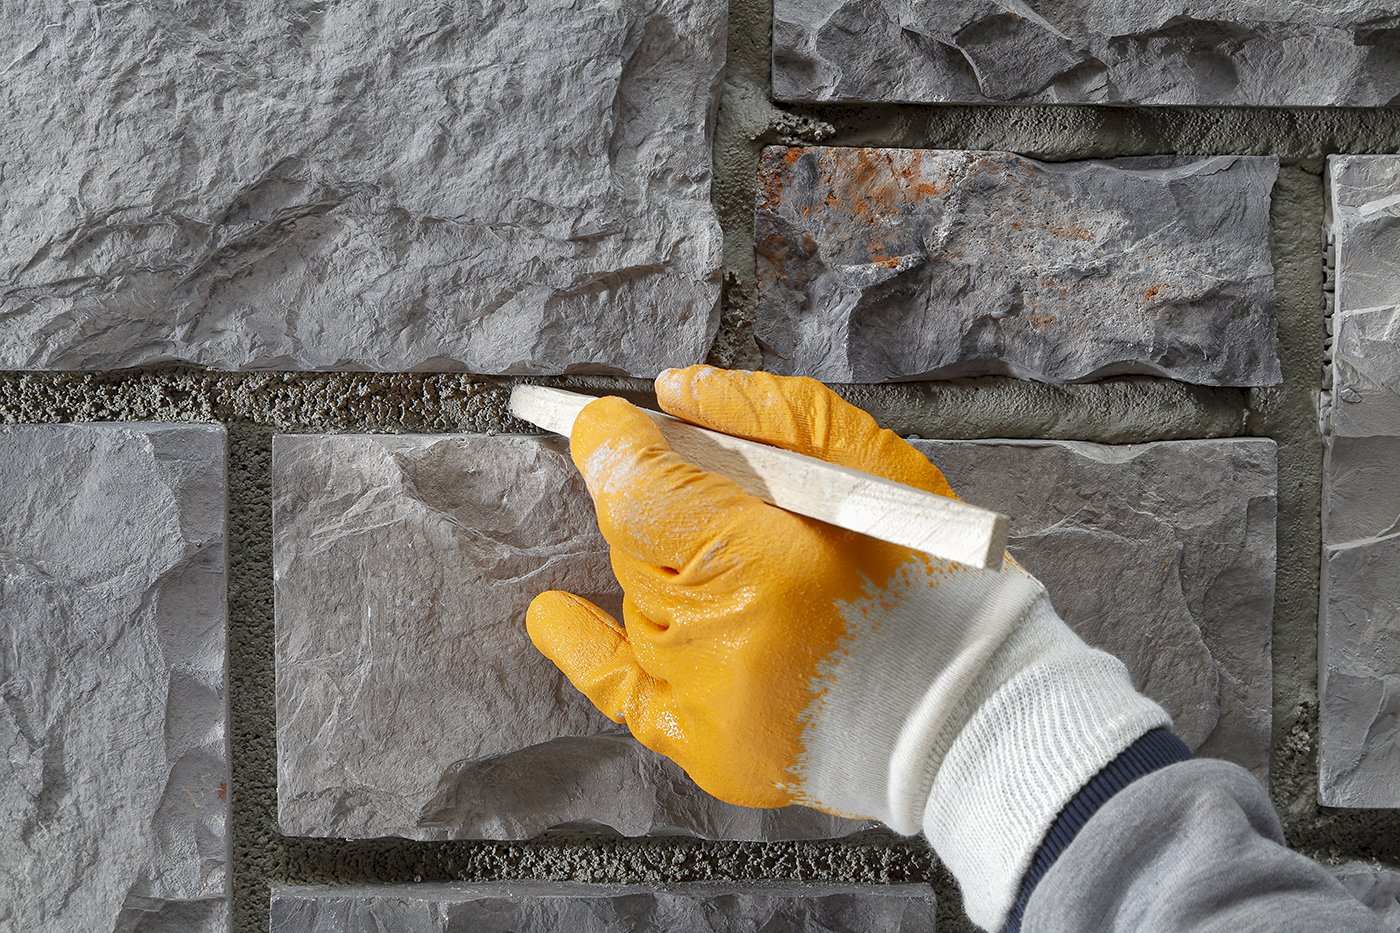
Clean out excess mortar before it dries completely.
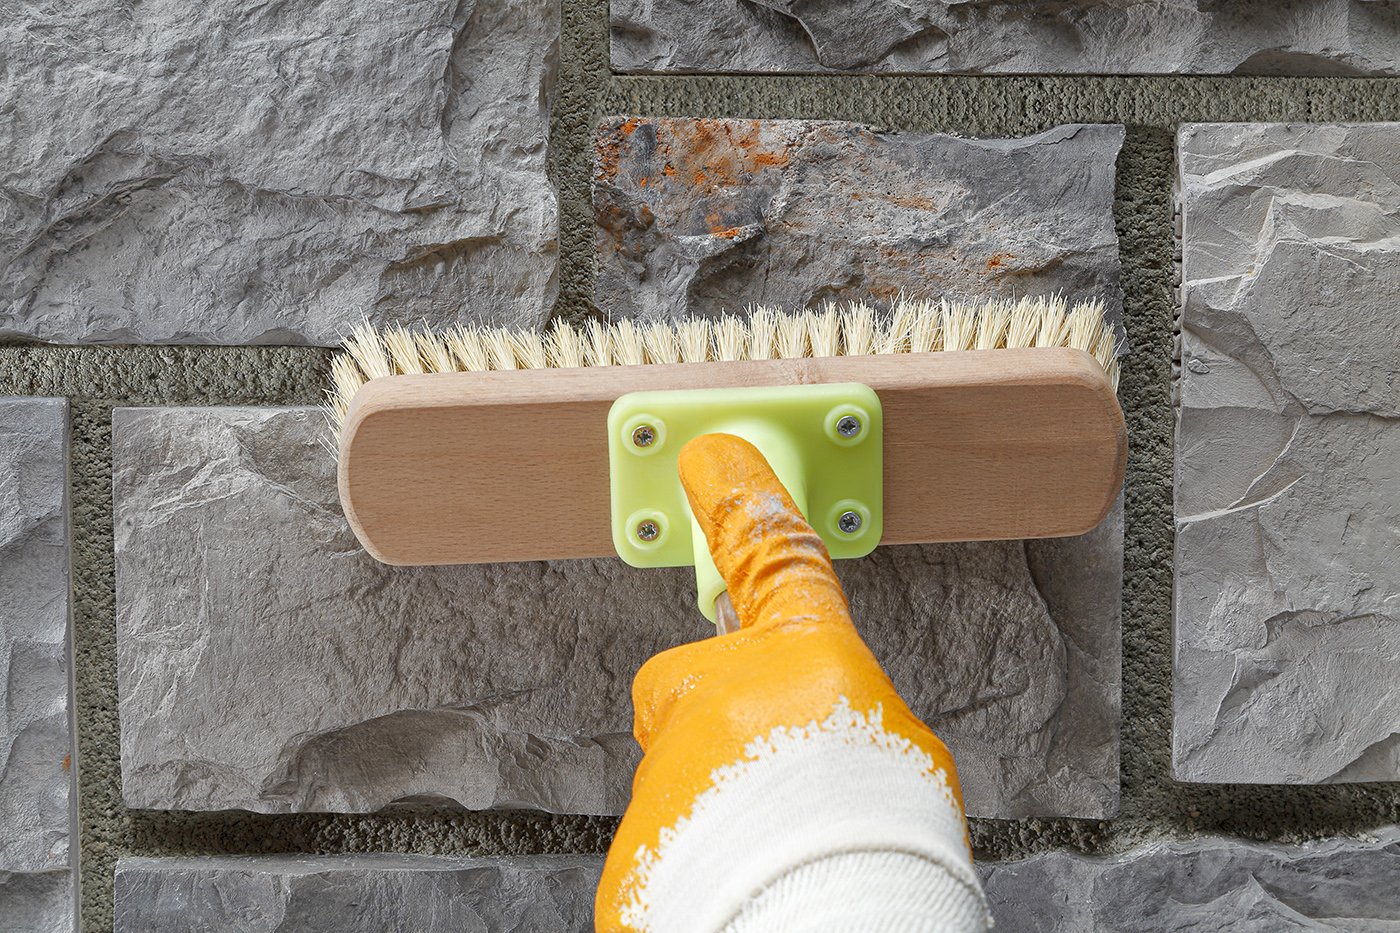
Clean joint mortars and surface of the stone using soft and clean brush. Apply Stonewrap® water repellent on clean surface that has fully dried.
The videos here are prepared for installation Stonewrap products correctly. Please watch the videos for the best results for your stone and brick cladding.


